Kubernetes Journey: From kubectl to GitOps
How the 'Log-Pong' app took me from manual kubectl apply to a fully automated ArgoCD GitOps pipeline: service discovery, readiness probes, and progressive canary releases.
Introduction
For anyone diving into DevOps, there’s a moment when the theory of Kubernetes (all the talk of Pods, Services, and Deployments) needs to meet the messy reality of practice. My journey with the “Log-Pong” application was exactly that: a hands-on, often challenging, but ultimately rewarding experience that took me from manually managing resources to orchestrating a fully automated GitOps pipeline.
This post isn’t just a project showcase. It’s a story about the power of starting with the fundamentals, embracing the “manual” way to build deep understanding, and then leveraging that knowledge to build a professional, automated workflow. If you’re on a similar path, I hope my story resonates and offers some useful insights.
The Log-Pong Application
Before we dive into the how (the deployment), let’s quickly cover the what. The “Log-Pong” stack consists of two simple microservices designed to demonstrate key Kubernetes concepts:
-
The
pingpong-app(The Backend):- What it is: A stateful backend service.
- Technology: Node.js with the Koa framework, connected to a PostgreSQL database.
- What it does: Its only job is to expose an API endpoint (
/ping). When called, it increments a counter in the database and returns the new number of “pongs.” This service represents a stateful component whose data must persist.
-
The
log-output-app(The Frontend/Aggregator):- What it is: A frontend service that gathers information from various sources.
- Technology: Node.js with Koa, running in a unique two-container Pod.
- What it does:
- A writer container continuously writes the current timestamp to a shared file.
- A reader container waits for requests. When a request comes in, it reads the timestamp from the shared file, fetches a message from a Kubernetes ConfigMap, and makes an HTTP call to the
pingpong-appto get the current pong count. It then combines all this information into a single string.
How They Work Together: The user interacts with the log-output-app, which in turn communicates with the pingpong-app over the cluster’s internal network. The final output looks something like this:
file content: this text is from file
env variable: MESSAGE=hello world
2025-07-21T10:30:00.123Z: a1b2c3d4e5f6...
Ping / Pongs: 42
It’s a simple system, but its architecture is perfect for exploring the core concepts of Kubernetes networking, state management, and configuration. Now, let’s get into how it was deployed.
Manual Deployment
Every project starts somewhere. Mine began with the two applications described above. Initially, getting them to run was a manual process of building Docker images and applying Kubernetes manifests one by one.
# 1. Build the image
docker build -t my-username/pingpong-app .

# 2. Push it to a registry
docker push my-username/pingpong-app

# 3. Deploy it to the cluster
kubectl apply -f manifests/deployment.yaml
kubectl apply -f manifests/service.yaml
I had to do this for both applications. It was tedious, but it was also the perfect way to learn the fundamentals. I wasn’t just running a script; I was forced to understand what each kubectl apply command was actually doing. What’s a Deployment? Why does it need a Service? How do labels and selectors work? This manual phase was my classroom.
Service Connectivity
Running the apps was one thing; making them talk to each other was a whole new challenge. This is where the real learning began.
My first attempt involved the shared volume between the “writer” and “reader” containers, but the real breakthrough came when I truly understood Kubernetes Services. By giving my pingpong deployment a ClusterIP service, it received a stable DNS name inside the cluster.
Suddenly, my log-output app could reliably find and talk to it over the network.
// In the log-output reader's code
const PINGPONG_URL = 'http://pingpong-svc:3001/ping';

// ...
const pingResponse = await axios.get(PINGPONG_URL);
const pingCount = pingResponse.data.pong;
This was a huge “aha!” moment. I had moved from a shared-filesystem model to true service-to-service communication, the foundation of microservice architecture.
      graph TD
          ExternalUser[External User] --> KubernetesIngress(Kubernetes Ingress\n(e.g., /log-output))
          KubernetesIngress --> ServiceLogOutput(Service: log-output\n(Type: ClusterIP))
          ServiceLogOutput --> PodLogOutput(Pod: log-output\n\n  - Reader Container\n  - Writer Container)
          ServiceLogOutput --> ServicePingpong(Service: pingpong\n(Type: ClusterIP))
          PodLogOutput --> ServicePingpong
          ServicePingpong --> PodPingpong(Pod: pingpong\n\n  - Koa App Container)
It’s a simple system, but its architecture is perfect for exploring the core concepts of Kubernetes networking, state management, and configuration. Now, let’s get into how it was deployed.
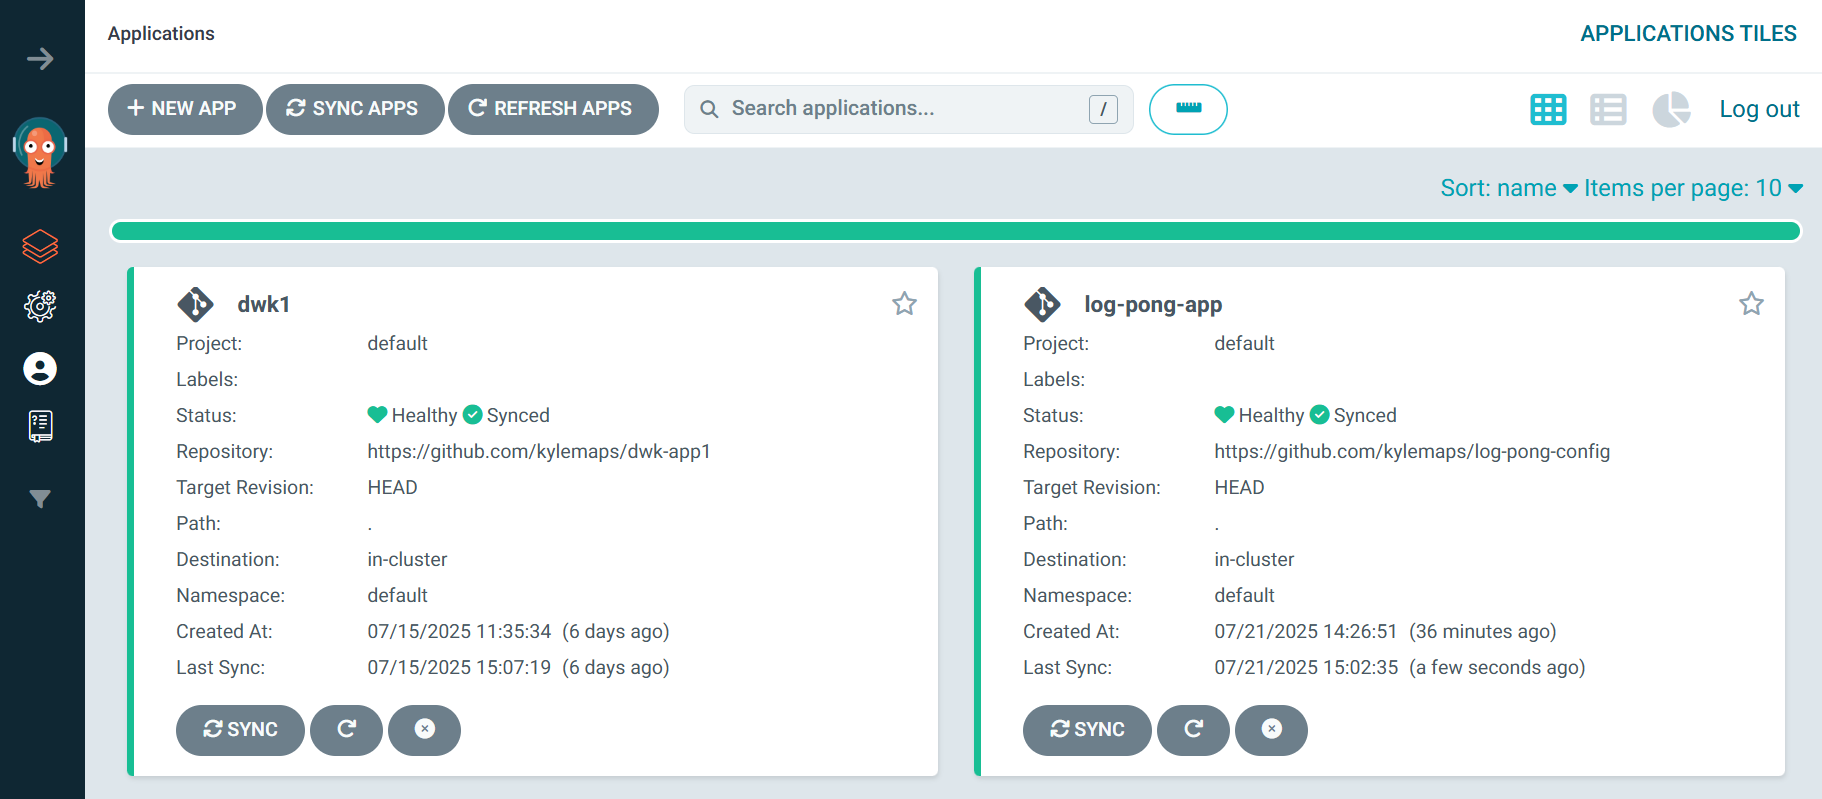
GitOps Automation
The manual workflow had taught me a lot, but it was slow and error-prone. It was time to automate. I decided to refactor the entire project into a professional GitOps workflow using ArgoCD.
This meant a fundamental change in structure:
pingpong-codeRepo: Contained only the application source code.log-output-codeRepo: Contained only its application source code.log-pong-configRepo: Contained only the Kubernetes YAML manifests. This became my single source of truth.
Next, I built a CI/CD pipeline with GitHub Actions for each application repository. On every push to main, the pipeline would:
- Build a new Docker image and tag it with the commit SHA.
- Push the image to Docker Hub.
- Check out the
log-pong-configrepository. - Automatically update the
image:tag in the deployment manifest. - Commit and push the change to the config repo.
# A snippet from the GitHub Actions workflow
- name: Update Image Tag
run: |
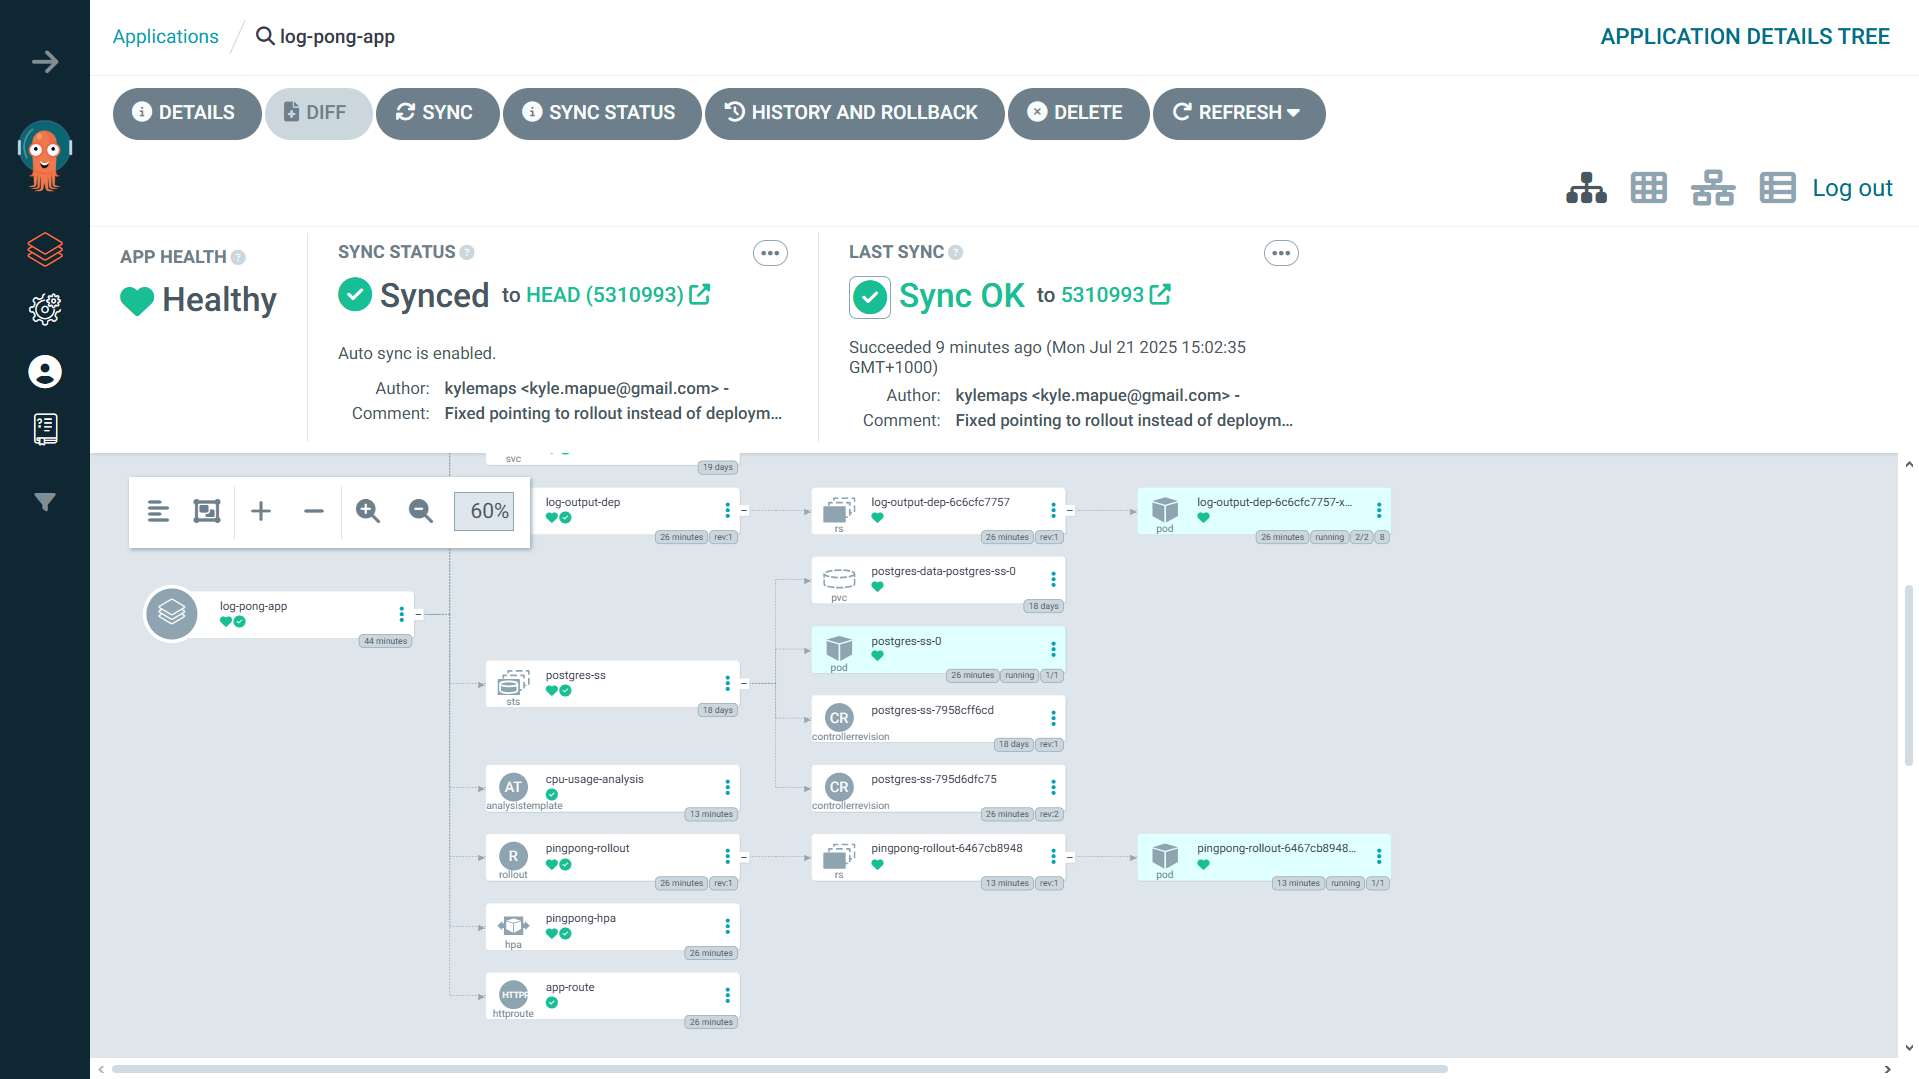
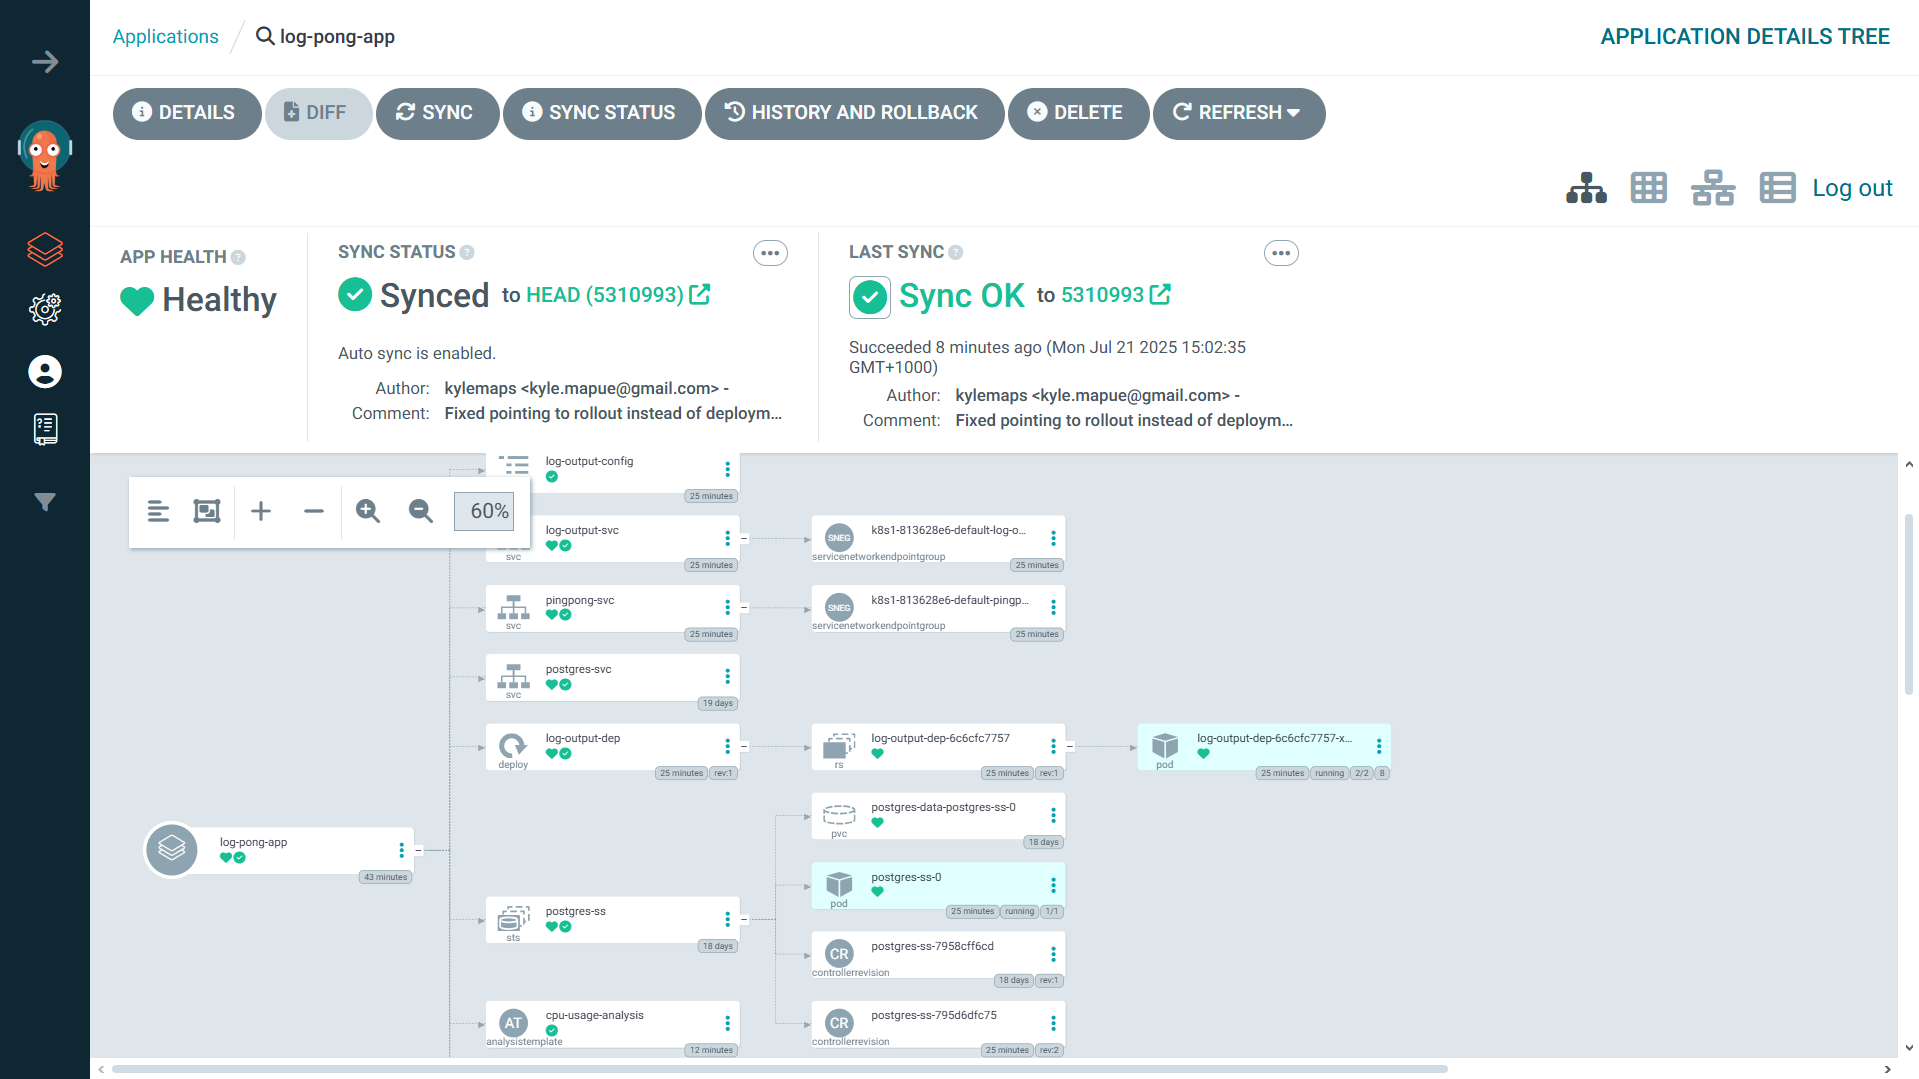
sed -i 's|image: .*|image: ${{ secrets.DOCKERHUB_USERNAME }}/pingpong-app:${{ github.sha }}|g' log-pong-config/manifests/rollout.yamlThe final piece was ArgoCD. I pointed it at my log-pong-config repository. Now, whenever the CI pipeline pushed an updated image tag, ArgoCD would detect the change and automatically sync it with my cluster. My job was done. I had created a fully automated, end-to-end deployment pipeline.
Reliability Enhancements
With the core workflow in place, I added two more features to make the system truly robust.
-
Readiness Probes: The
pingpongapp is useless without its database. I configured areadinessProbethat hits a/healthzendpoint. This endpoint only returns a200 OKif the database connection is active. Now, Kubernetes won’t send traffic to apingpongpod until it’s confirmed it can do its job.
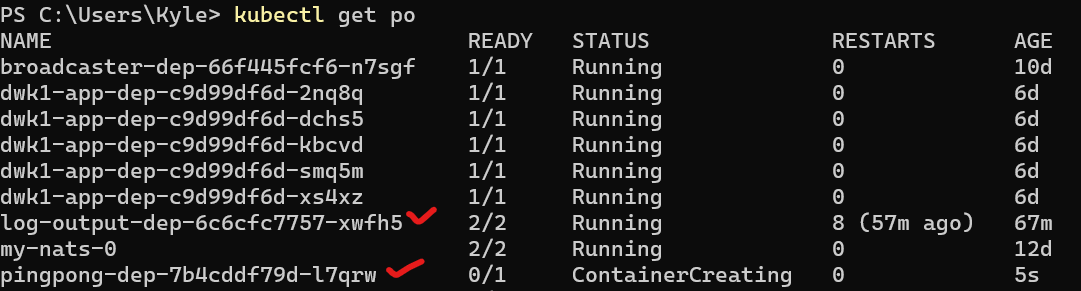
To prove this, I simulated a database failure by deleting its
StatefulSet. When thepingpongpod tried to restart, it couldn’t connect. Runningkubectl describe podon the new pod revealed exactly what was happening in the events log:Status: Running IP: 10.68.2.70 Ready: False ... Events: Type Reason Age From Message ---- ------ ---- ---- ------- Normal Scheduled 15s scheduler Successfully assigned default/pingpong-rollout... Normal Pulled 15s kubelet Container image "kylmps/pingpong:5" already present... Normal Created 15s kubelet Created container pingpong Normal Started 15s kubelet Started container pingpong Warning Unhealthy 4s kubelet Readiness probe failed: HTTP probe failed with statuscode: 500The probe was working perfectly, preventing the broken pod from receiving traffic and protecting the system from cascading failures.
-
Canary Deployments & Automated Analysis: To deploy updates safely, I switched from a
Deploymentto an Argo RolloutsRolloutresource. I configured it to perform canary releases and defined anAnalysisTemplateto monitor CPU usage. If a new version causes a CPU spike, the rollout is automatically aborted and rolled back. No human intervention required.
Conclusion: The Journey is the Destination
Building the Log-Pong stack taught me more than any tutorial ever could. By starting manually, I was forced to learn the “why” behind every Kubernetes object. That fundamental knowledge was the bedrock upon which I could confidently build a complex, automated GitOps workflow.
If you’re just starting out, embrace the manual steps. Break things. Fix them. Understand the moving parts. Because when you finally automate, you’ll be doing it with the confidence of someone who knows exactly what’s happening under the hood.